2025-10-17
admin
Diperbarui 2025-10-18
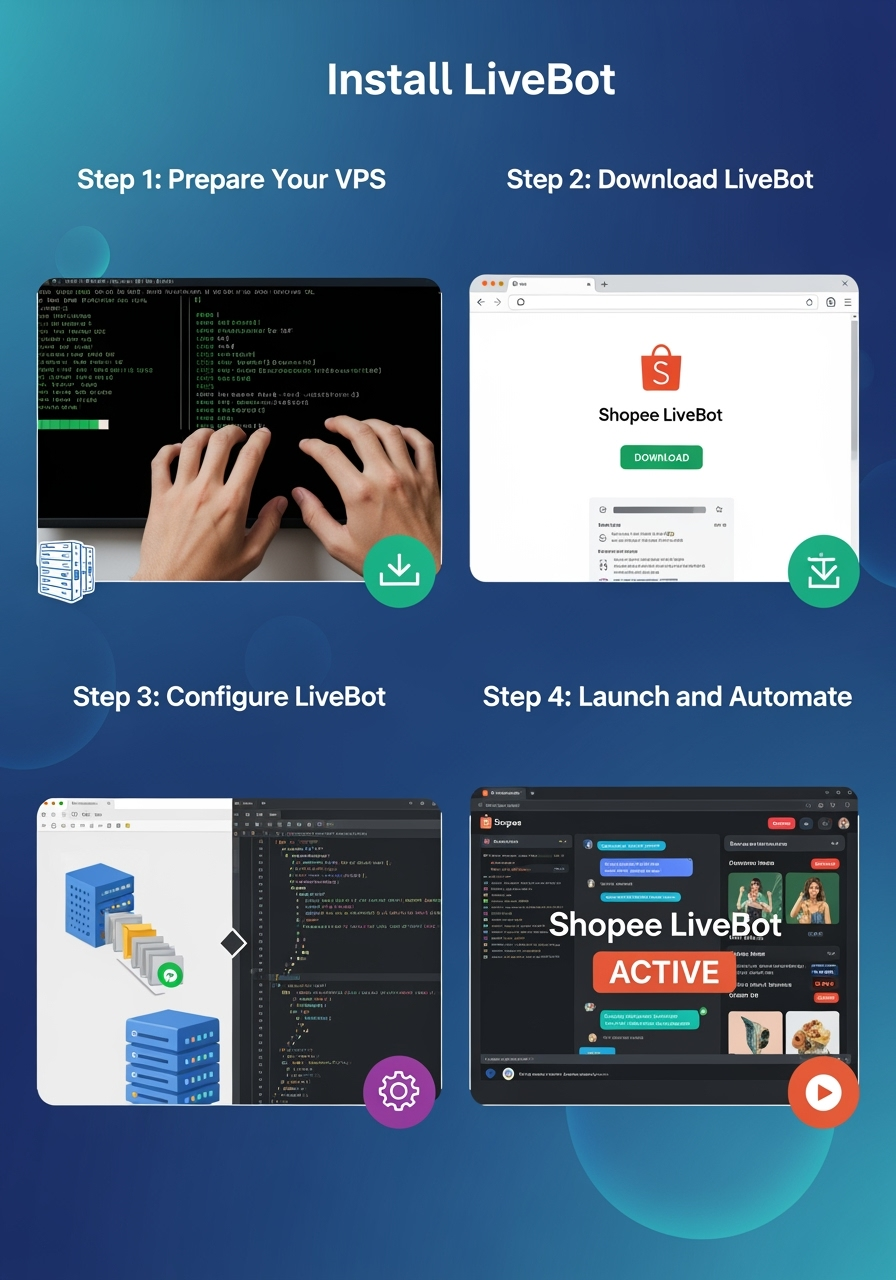
Cara Mudah Instal Shopee LiveBot di VPS Linux untuk Jualan Laris
Ingin otomatiskan live streaming Shopee Anda dan meningkatkan penjualan? Ikuti panduan lengkap ini untuk instal Shopee LiveBot di VPS Linux. Dijamin berhasil, bahkan untuk pemula!
Panduan Instalasi Shopee LiveBot di VPS Linux
Prerequisites
1. Update System
sudo apt update && sudo apt upgrade -y
2. Install Python 3 dan pip
sudo apt install python3 python3-pip python3-venv -y
3. Install Google Chrome
# Download dan install Google Chrome
wget -q -O - https://dl.google.com/linux/linux_signing_key.pub | sudo apt-key add -
echo "deb [arch=amd64] http://dl.google.com/linux/chrome/deb/ stable main" | sudo tee /etc/apt/sources.list.d/google-chrome.list
sudo apt update
sudo apt install google-chrome-stable -y
4. Install ChromeDriver
# Method 1: Install via package manager
sudo apt install chromium-chromedriver -y

# Method 2: Download latest ChromeDriver manually
CHROME_VERSION=$(google-chrome --version | grep -oE "[0-9]+\.[0-9]+\.[0-9]+")
wget -O /tmp/chromedriver.zip "https://chromedriver.storage.googleapis.com/LATEST_RELEASE_${CHROME_VERSION%.*}/chromedriver_linux64.zip"
sudo unzip /tmp/chromedriver.zip -d /usr/local/bin/
sudo chmod +x /usr/local/bin/chromedriver
5. Install Dependencies Python
# Buat virtual environment
python3 -m venv shopee_bot_env
source shopee_bot_env/bin/activate

# Install required packages
pip install selenium colorama
Konfigurasi Tambahan untuk VPS
1. Install Xvfb (jika perlu GUI simulation)
sudo apt install xvfb -y
2. Set Environment Variables
# Tambahkan ke ~/.bashrc atau ~/.profile
export DISPLAY=:99
export CHROME_BIN=/usr/bin/google-chrome
export CHROMEDRIVER_PATH=/usr/local/bin/chromedriver
3. Install Font Support (opsional)
sudo apt install fonts-liberation fonts-dejavu-core fontconfig -y
Cara Menjalankan
1. Mode Headless (Recommended untuk VPS)
# Aktivasi virtual environment
source shopee_bot_env/bin/activate

# Jalankan bot
python3 shopee_livebot_linux.py --headless
2. Mode dengan Virtual Display
# Start virtual display
Xvfb :99 -screen 0 1920x1080x24 &

# Export display
export DISPLAY=:99

# Jalankan bot
python3 shopee_livebot_linux.py
3. Menggunakan Screen/Tmux (Background Process)
# Menggunakan screen
screen -S shopee_bot
source shopee_bot_env/bin/activate
python3 shopee_livebot_linux.py --headless

# Detach: Ctrl+A, then D
# Reattach: screen -r shopee_bot

# Menggunakan tmux
tmux new-session -d -s shopee_bot
tmux send-keys -t shopee_bot "source shopee_bot_env/bin/activate" Enter
tmux send-keys -t shopee_bot "python3 shopee_livebot_linux.py --headless" Enter
Troubleshooting
Chrome/ChromeDriver Issues
# Check Chrome version
google-chrome --version

# Check ChromeDriver version
chromedriver --version

# Test Chrome headless
google-chrome --headless --no-sandbox --disable-gpu --dump-dom https://www.google.com
Permission Issues
# Fix ChromeDriver permissions
sudo chmod +x /usr/local/bin/chromedriver

# Fix Chrome permissions
sudo chmod +x /usr/bin/google-chrome
Memory Issues
# Check available memory
free -h

# Monitor memory usage
top -p $(pgrep -f python)

# Add swap if needed
sudo fallocate -l 2G /swapfile
sudo chmod 600 /swapfile
sudo mkswap /swapfile
sudo swapon /swapfile
Display Issues
# Check if display is available
echo $DISPLAY

# Test X server
xdpyinfo

# Kill zombie processes
pkill -f chrome
pkill -f chromedriver
Security Considerations
1. Firewall Configuration
# Basic firewall setup
sudo ufw enable
sudo ufw allow ssh
sudo ufw allow 80
sudo ufw allow 443
2. User Permissions
# Don't run as root, create dedicated user
sudo adduser shopeebot
sudo usermod -aG sudo shopeebot
su - shopeebot
3. Process Monitoring
# Create simple monitoring script
cat > monitor_bot.sh << 'EOF'
#!/bin/bash
while true; do
    if ! pgrep -f "shopee_livebot_linux.py" > /dev/null; then
        echo "Bot not running, restarting..."
        cd /path/to/bot
        source shopee_bot_env/bin/activate
        python3 shopee_livebot_linux.py --headless &
    fi
    sleep 300  # Check every 5 minutes
done
EOF

chmod +x monitor_bot.sh
Log Management
1. Logrotate Configuration
sudo cat > /etc/logrotate.d/shopee-bot << 'EOF'
/path/to/bot/shopee_livebot.log {
    daily
    rotate 7
    compress
    delaycompress
    missingok
    notifempty
    copytruncate
}
EOF
2. Systemd Service (Optional)
sudo cat > /etc/systemd/system/shopee-bot.service << 'EOF'
[Unit]
Description=Shopee LiveBot
After=network.target

[Service]
Type=simple
User=shopeebot
WorkingDirectory=/home/shopeebot/shopee_bot
Environment=DISPLAY=:99
ExecStart=/home/shopeebot/shopee_bot/shopee_bot_env/bin/python /home/shopeebot/shopee_bot/shopee_livebot_linux.py --headless
Restart=always
RestartSec=10

[Install]
WantedBy=multi-user.target
EOF

sudo systemctl daemon-reload
sudo systemctl enable shopee-bot
sudo systemctl start shopee-bot
Performance Optimization
1. Resource Limits
# Set resource limits in script or systemd
ulimit -v 2097152  # 2GB virtual memory limit
ulimit -u 50       # Max 50 processes
2. Chrome Optimization
Sudah diimplementasikan dalam script:
--no-sandbox--disable-dev-shm-usage--disable-gpu--disable-images--memory-pressure-off
3. Monitoring Script
#!/bin/bash
# monitor_resources.sh
while true; do
    echo "=== $(date) ==="
    echo "Memory usage:"
    ps aux | grep -E "(python|chrome)" | grep -v grep
    echo "Disk usage:"
    df -h /
    echo "Load average:"
    uptime
    echo "===================="
    sleep 60
done
Catatan Penting
- Legal Disclaimer: Script ini hanya untuk tujuan edukasi. Pastikan penggunaan sesuai dengan Terms of Service Shopee.
- Rate Limiting: Bot sudah dilengkapi dengan random delays untuk menghindari deteksi.
- Error Handling: Semua fungsi dilengkapi dengan proper error handling dan logging.
- Resource Management: Browser akan otomatis ditutup setelah selesai atau jika terjadi error.
- Proxy Support: Bot mendukung penggunaan proxy untuk anonymity.
- Logging: Semua aktivitas akan dicatat dalam file log untuk debugging.
blog
teknologi
programming
admin